
Healthy nails rarely happen by accident. They reflect daily habits, small choices, and a little consistency. The good news is that most common nail issues, like peeling, brittleness, ragged cuticles, and frequent breakage, improve with simple routines that fit real life.
At-home nail care does not need a drawer full of tools or a complicated schedule. It needs smart basics done well. Think of your nails as a protective layer that can dry out, swell with water, and wear down from friction. When the routine supports that barrier, nails tend to look better and feel stronger.
Start With a Simple Nail Health Check
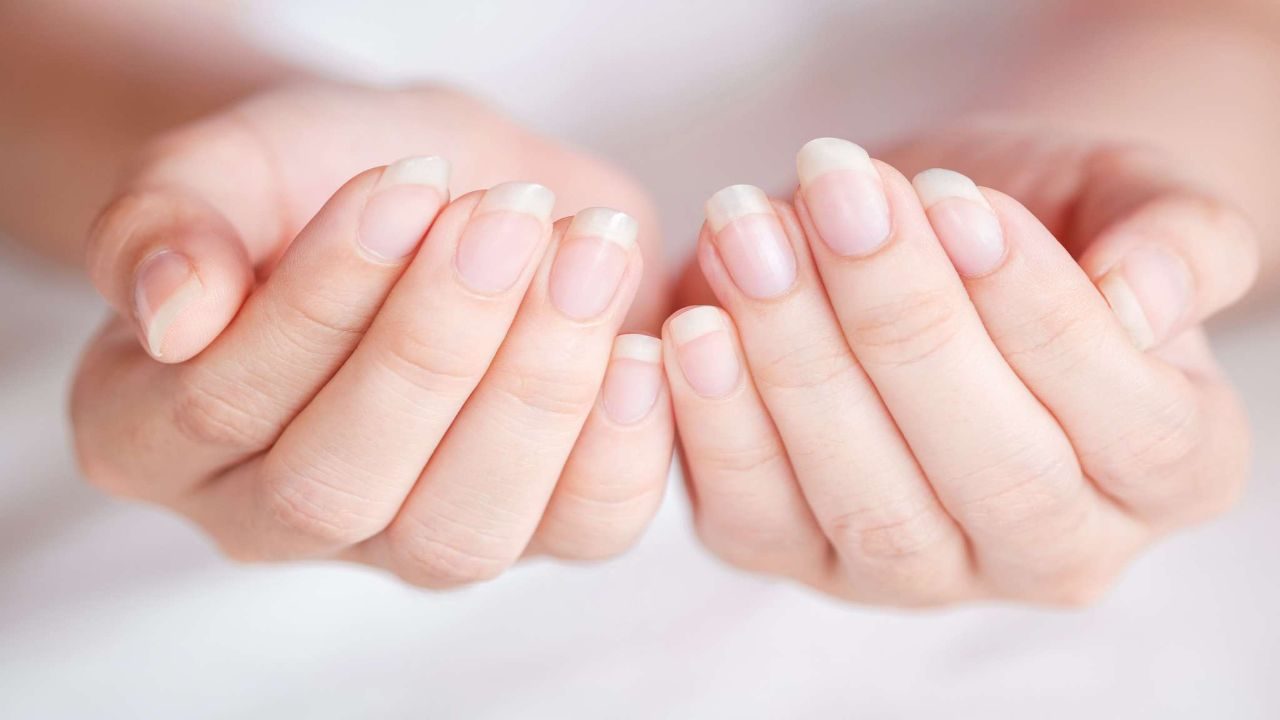
Before changing anything, take a quick, honest look at what your nails are telling you. Are they peeling at the tips, splitting down the center, or breaking right after a shower? Do you see dryness around the nail folds, hangnails, or rough cuticles? As Singapore dermatologist Dr. Evelyn Tay often notes when discussing nail care, these early visual cues usually reflect daily habits rather than sudden problems. Peeling often links to repeated wet-dry cycles and harsh soaps. Splitting and breakage can come from mechanical stress, aggressive filing, or ongoing dryness.
Next, consider your exposure patterns. Many people wash their hands frequently, sanitize often, clean without gloves, and type all day. Those are not bad habits, but they do increase wear. Nails are porous. They absorb water and then lose it, which can weaken the layers over time. Recognizing the daily triggers helps you choose targeted adjustments instead of trying random products that promise quick fixes.
If you notice sudden color changes, persistent pain, swelling, a dark streak that is new, or a nail lifting off the nail bed, treat that as a medical flag. Home routines support healthy nails, but they should not replace care for warning signs. When something looks new, changes quickly, or causes discomfort, a professional evaluation is the smart move.
Build a Daily Routine That Protects the Nail Barrier
Start with one anchor habit: moisturize after handwashing. A simple hand cream helps, but adding a small amount of cuticle oil or ointment around the nail folds makes a bigger difference for dryness and hangnails.
Keep nails at a practical length for your lifestyle. Longer nails catch, bend, and tear more easily, especially if you open cans, do dishes, or handle boxes. Shorter nails reduce leverage, which lowers breakage. This is not a style limitation. It is a strength strategy. You can keep a clean, polished look at almost any length if the shape is neat.
Also, protect nails from repeated chemical exposure. Household cleaners, solvents, and frequent sanitizers use strip oils. Wear gloves for cleaning and dishwashing, and dry your hands fully after washing. Moisture trapped under nails or around cuticles can lead to irritation. The goal is balance: clean hands, dry well, then rehydrate the skin and nail edges.
Wash, Dry, and Moisturize the Right Way
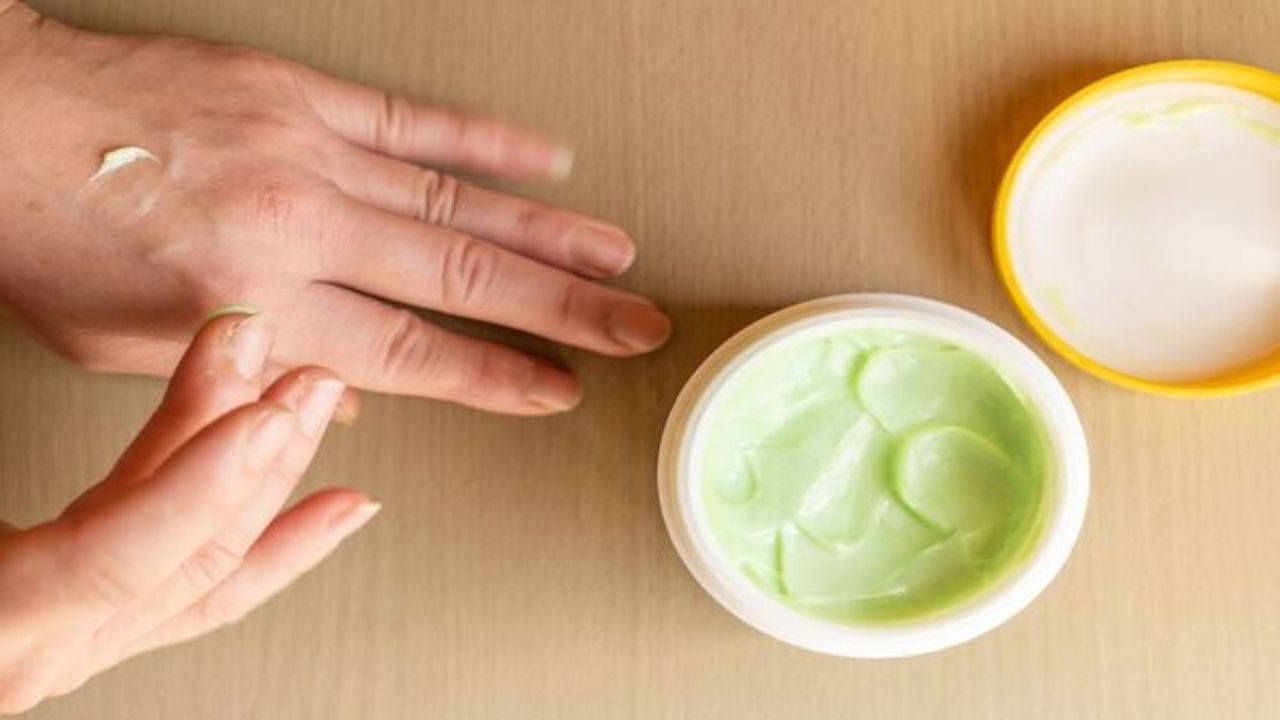
Hand hygiene supports health, but technique matters for nails. Use lukewarm water, not hot, and choose a gentle soap when possible. Hot water and strong detergents remove natural oils faster. After washing, pat your hands dry instead of rubbing aggressively. Friction around the nail folds can trigger peeling skin and hangnails.
Moisturizing is most effective when done on slightly damp skin. Apply hand cream right after drying, then seal the nail edges with a thin layer of oil or ointment. Pay attention to the cuticle area and the sides of the nails. Those spots crack first. If you do this after most washes, you may see fewer snags within a week.
At night, level up with a “sleep mask” approach. Use a thicker cream or petrolatum-based ointment on the nail folds and fingertips. If your hands are very dry, cotton gloves can help the product stay in place. This routine is simple, but it is one of the fastest ways to improve nail appearance because it targets the most common cause of brittleness: dehydration.
Trim and File Like a Pro Without Damaging the Nail
Trimming and filing should shape the nail, not stress it. Clip nails after a shower or hand soak when they are slightly softer, but do not over-soak. Then file to smooth edges. Use a fine-grit file and work in one direction, especially if your nails peel easily. Back-and-forth “sawing” can create micro-tears along the edge that later turn into splits.
Choose a shape that matches your nail strength. Rounded or squoval shapes tend to catch less and resist chipping. Sharp corners can snag on fabric and start cracks. If your nails break at the sides, soften those corners first. If they split down the middle, reduce the length and keep the tip smooth to prevent stress from traveling inward.
Avoid cutting cuticles. The cuticle helps seal the space between nail and skin. Cutting it can create openings for irritation and infection. Instead, soften with oil, then gently push back only the dead skin on the nail plate using a soft tool after a shower. If you see true hangnails, trim the loose bit carefully with clean nippers. Do not pull. Pulling can tear deeper and trigger inflammation.
Use Polish and Remover Without Weakening Your Nails
Nail polish can protect nails from minor friction, but it can also contribute to dryness if the routine is harsh. If you wear polish often, use a base coat to reduce staining and create a smoother surface. If your nails are thin or peeling, look for a strengthening base that focuses on flexibility, not stiffness. Nails that feel “hard” can still snap if they lose elasticity.
Be mindful of removers. Acetone works quickly, but it dries nails and the surrounding skin. That does not mean it is forbidden. It means it needs a counter-balance. If you use acetone, moisturize immediately after and apply oil to the nail edges. For frequent changes, consider an acetone-free remover for lighter polish, but know that it may require more rubbing, which can create its own damage. Less rubbing often wins.
Give your nails short breaks from polish, but do not treat breaks as the only solution. The real solution is good prep and aftercare. When you remove polish, avoid scraping with metal tools. Let the remover do the work, then wash hands, dry, and moisturize. If you buff your nails, do it rarely and lightly. Over-buffing thins the plate and increases peeling.
Eat and Hydrate for Stronger Nails, Then Know When to Get Help
Nails grow from the inside out, so nutrition matters. Protein supports the nail structure. Iron, zinc, and biotin play roles in growth and strength. A balanced diet with lean proteins, beans, leafy greens, nuts, eggs, and whole grains supports healthier nails over time. If your nails suddenly become brittle, pale, or spoon-shaped, consider that a reason to talk with a clinician, since nutrient deficiencies can show up in nails.
Hydration helps, but it is not magic on its own. Drinking water supports the body, while a topical moisturizer protects nails from external drying. Think of these as a duo. Internal support plus external barrier care leads to the best results. If you take supplements, keep it practical and safe. More is not always better, and some supplements can interfere with lab tests or medications.
Finally, set a clear line for when home care is not enough. Seek help for persistent nail lifting, thickening, crumbling, spreading discoloration, swelling around the nail, recurring infections, or any new dark streak that does not grow out normally. Early treatment is often simpler and faster. In the meantime, the home routine you build now will make future improvements easier to maintain.